Decision 3 – Incorporating Existing Lights

In the world of pixels and programming, it appears from the outside that the legacy light string is left behind. However, due to the crossovers as people were migrating displays from AC based, to DC based, and then to pixels, some special circuit designs were made up. These allow for either DMX or “pixel protocol” based control of DC strings (and in some cases mains rated AC strings).

Older style low-voltage lights typically had 2 or 4 wires to the lights, with a single common (either positive or negative rail). By switching on one of more of these individual lines, a particular colour or segment of the light string would light up. This was a relatively straightforward method of lamp control.

In the mid-2010’s a new style of LED light controller was designed, which uses two wires from the controller to the light set. As LEDs are polarised devices, they will only illuminate when the positive and negative rails are the correct way around. This has its benefits. By alternating the polarity of every second LED, the when applying the voltage one way, the odd numbered – first, third, fifth, etc LEDs would illuminate. When reversing the polarity, the even numbered LEDs would switch on. In order to display all LEDs on simultaneously, the controller is actually reversing the polarity to the string at a rate faster than the human eye can see, giving the appearance that they are all on, when in fact only half is ever on at any one time.

Credit to David_AVD of DAShare for this image [Link]

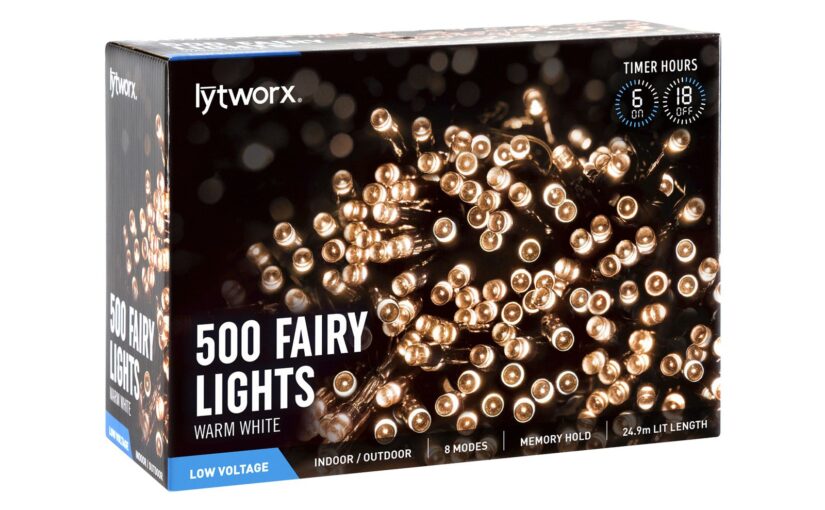
This method is used in the BigW and Bunnings Lytworx style controllers, as well as many other cheaper designs. This provides a complication, as it’s not simply a matter of switching one, two, or more wires on to enable the colours, but a smart controller is needed.

Which brings me to the crux of this post – is it possible to utilise these style strings within a pixel display – and the answer to that is YES!
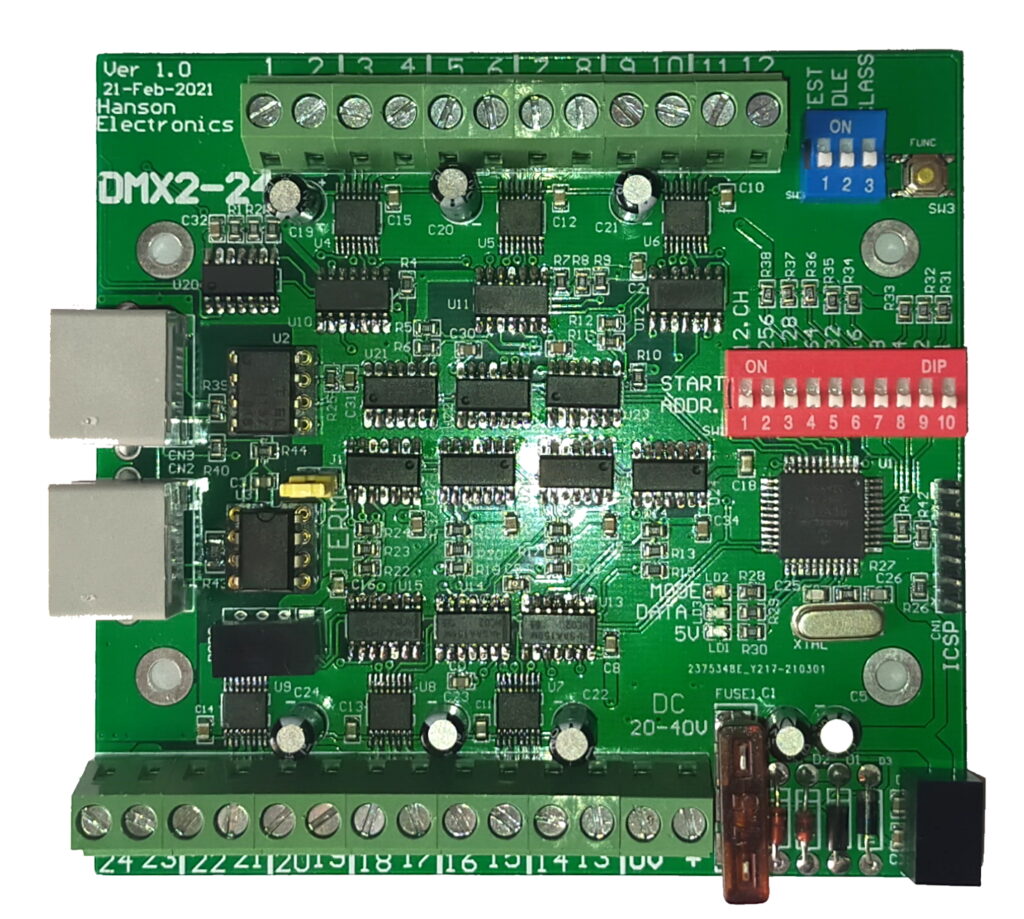
A bloke by the name of Alan Hanson (of Hanson Electronics) based in Victoria came up with a circuit design which takes in DMX data (24 channels worth) and can interface with 12 of these strings, providing independent control of both “polarities” within the string. This means that it’s really easy to integrate this in with the display. The product itself is called the DMX2-24 – and I have acquired one for this project, along with a USB DMX dongle

So what this means is that I am able to keep utilising my existing purchases until I’ve replaced them with pixels. Having this board also means that should I ever forgo the basic lights in my main display, I can use it at other premises to provide some animation to existing sets.

I’ll have more information coming in the Technical Experiments section as I play with and learn the device further.
Decision 2 – What types of lights should I use?

There is wide debate on the internet as to whether to use strip lights, or nodes/bullets. To start off with, here is a description of each type.

Strip Lights

Strip lights come on a flexible PCB, with surface mounted LEDs, and often an adhesive backing. These are either WS2812B style (LED and IC in the one package) or WS2811 (where the LEDs are separate from the driver chip). There is a variance on LED density, from roughly 30 per metre, all the way up to super dense at 144 LEDs per metre. 5V ones are generally individually controllable, whereas 12V are grouped into threes, to cope with the voltage differences.
These are able to be cut and rejoined on specific markers, and include the PCB pads to attach wiring for this purpose. They can either be bare PCB, resin coated, or in a silicone tube – each providing increased levels of water ingress protection. In the image below you can see the difference between the different densities.

Bullets / Nodes

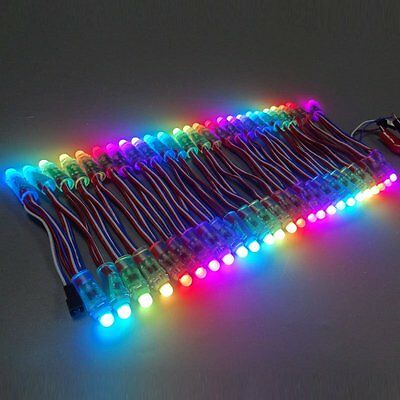
Pixel nodes/bullets are individual 8mm RGB LEDs soldered to a little PCB which contains a WS2811 driver chip. It may also include either resistors or voltage regulators on 12V versions to drop the voltage to 5V. They are connected by various lengths wiring – often around 100mm – to the next pixel, forming strings of either 50 or 100 nodes.
Each pixel is encased in epoxy to provide water proofing. These can be pushed into props, held in place with cable ties or various other mechanical holding techniques. The wiring can be cut at any place to add or remove individual or groups of pixels, and rejoined as necessary.
Whilst I talk about bullets primarily here, there are also square nodes, which I am not using to begin with. They have very similar properties to bullets, but are a different shape and slightly different design. The pros & cons below apply to both equally. The image below shows the bullet vs square node type.

Pros & Cons

So – why would you choose one of the the other?

  • Nodes are much easier to repair than strips, as strips require carefully cutting out the bad section and solding fine pads, and then re-waterproofing the assembly
  • Nodes can be pushed into props, whereas strip cannot
  • Nodes are more durable whereas strip is quite fragile
  • Strip is easier to get in a nice straight line, without loose wiring
  • Strip provide a less ‘pixelated’ look, and give a cleaner finish once installed

So there are some places where strip is great, and some where nodes/bullets are great.

Can they be mix and matched?

Absolutely! They all use the same protocol, so they can even be part of the same string. There’s nothing stopping you having a line of LEDs which is Strip then Nodes then Strip again.

Decision Time

I’ve decided that I will use bullets for the majority of the props, roof outlines, gutter lines, and mega tree. This is because it’s easier to work with and repair.
However, for the arches, strip will be used as it’ll be encased in plastic tubing, providing protection, and it’ll give a nice even lighting. Additionally, I’m also going to mount strip on the eave to shine onto the house which will provide a nice neat out-of-the-way look.
As for the mini-trees, those have yet to be decided. I have budgeted to do them in either, and I’ll give both a try and see what looks the best and is easiest to manage.